Page Header

Gallery
Project Gallery
Project Gallery
Real bathroom remodels—showing layout improvements, craftsmanship, and finishes that hold up.
Swap images anytime and link each project to a full case study page if you have one.
Featured Transformations
Use a single finished photo or a combined before/after image for each project.
Tip: Keep images consistent (similar brightness + angle)

Dated to Dream Bath
Full Remodel
Bright tile, modern fixtures, and layout improvements for a more open feel.
6 weeks
White + brass
Princeton

Tub to Walk-In Shower
Conversion
Safer entry, modern glass, and waterproofing upgrades.
3–4 weeks
Glass + tile
West Windsor

Compact to Spacious
Before/After
One combined image to show instant transformation.
5 weeks
Modern + bright
Montgomery

Tile & Flooring Upgrade
Tile
Clean grout lines, durable materials, and waterproofing done right.
2–3 weeks
Porcelain
San Bernardino

Vanity + Lighting Refresh
Upgrade
Better lighting, smarter storage, and a more polished look.
1–2 weeks
Matte black
Plainsboro

Clean, Modern Guest Bath
Refresh
A simple refresh that feels high-end and easy to maintain.
2–4 weeks
Neutral tones
Pennington
Want to see examples similar to your space?
Ready to Start Planning?
We’ll help you choose the right scope, style, and materials—without pressure.
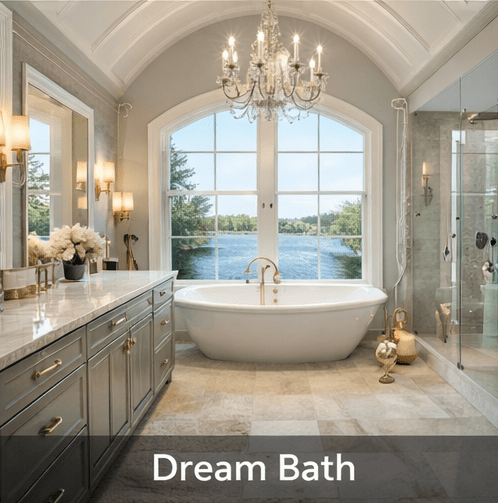
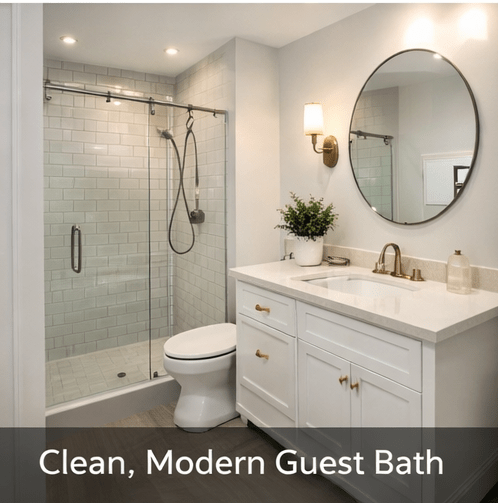
The Goal
Make the room feel larger, brighter, and easier to maintain—while keeping a clean, timeless style.
The Challenge
Outdated finishes and a cramped layout that limited storage and reduced usable floor space.
The Result
A brighter, more open bathroom with modern fixtures, durable waterproofing, and a polished finish.
Before & After
A quick visual comparison that shows the transformation at a glance.

Replace with a single combined before/after image (best for fast proof).
What We Did
• Demolition and removal of outdated fixtures
• Waterproofing system installation (shower + critical areas)
• New tile layout and grout finish
• Vanity, mirror, lighting, and hardware installation
• Paint, trim, and final detail cleanup
• Waterproofing system installation (shower + critical areas)
• New tile layout and grout finish
• Vanity, mirror, lighting, and hardware installation
• Paint, trim, and final detail cleanup
Dust control
Clean jobsite
Daily updates
Materials & Finishes
• Tile: 12×24 porcelain (bright neutral)
• Grout: light gray (stain resistant)
• Fixtures: brushed brass
• Shower: glass enclosure + modern drain
• Vanity: shaker style with quartz top
• Grout: light gray (stain resistant)
• Fixtures: brushed brass
• Shower: glass enclosure + modern drain
• Vanity: shaker style with quartz top
Tip: Keep this list short and homeowner-friendly.
Process Highlights
A few behind-the-scenes steps that protect your home and ensure the finish lasts.
Protection & Prep
Floor protection, dust control, and careful demolition to keep the home clean and safe.
Waterproofing First
We build the waterproofing system correctly before tile—this is where longevity is earned.
Finish & Walkthrough
Detail cleaning, punch list, and a final walkthrough to confirm every finish meets expectations.

Sarah M.
Princeton, NJ • Full Remodel
“We interviewed several contractors and chose this team because they were the most organized and transparent.
They kept the home clean, communicated daily, and the final result is stunning. The workmanship is obvious in every detail.”
Want a Bathroom Like This?
Tell us what you’re planning and we’ll recommend a scope, timeline, and finish options that fit your home.
Bottom Footer - z-the-footer-bottom.jpg

